From Shader Uniforms to Clip-Path Wipes: How GSAP Drives My Portfolio
This article explores the meticulous construction of my portfolio, showcasing how GSAP acts as the maestro that brings various elements—from shader uniforms to dynamic text reveals—together seamlessly.
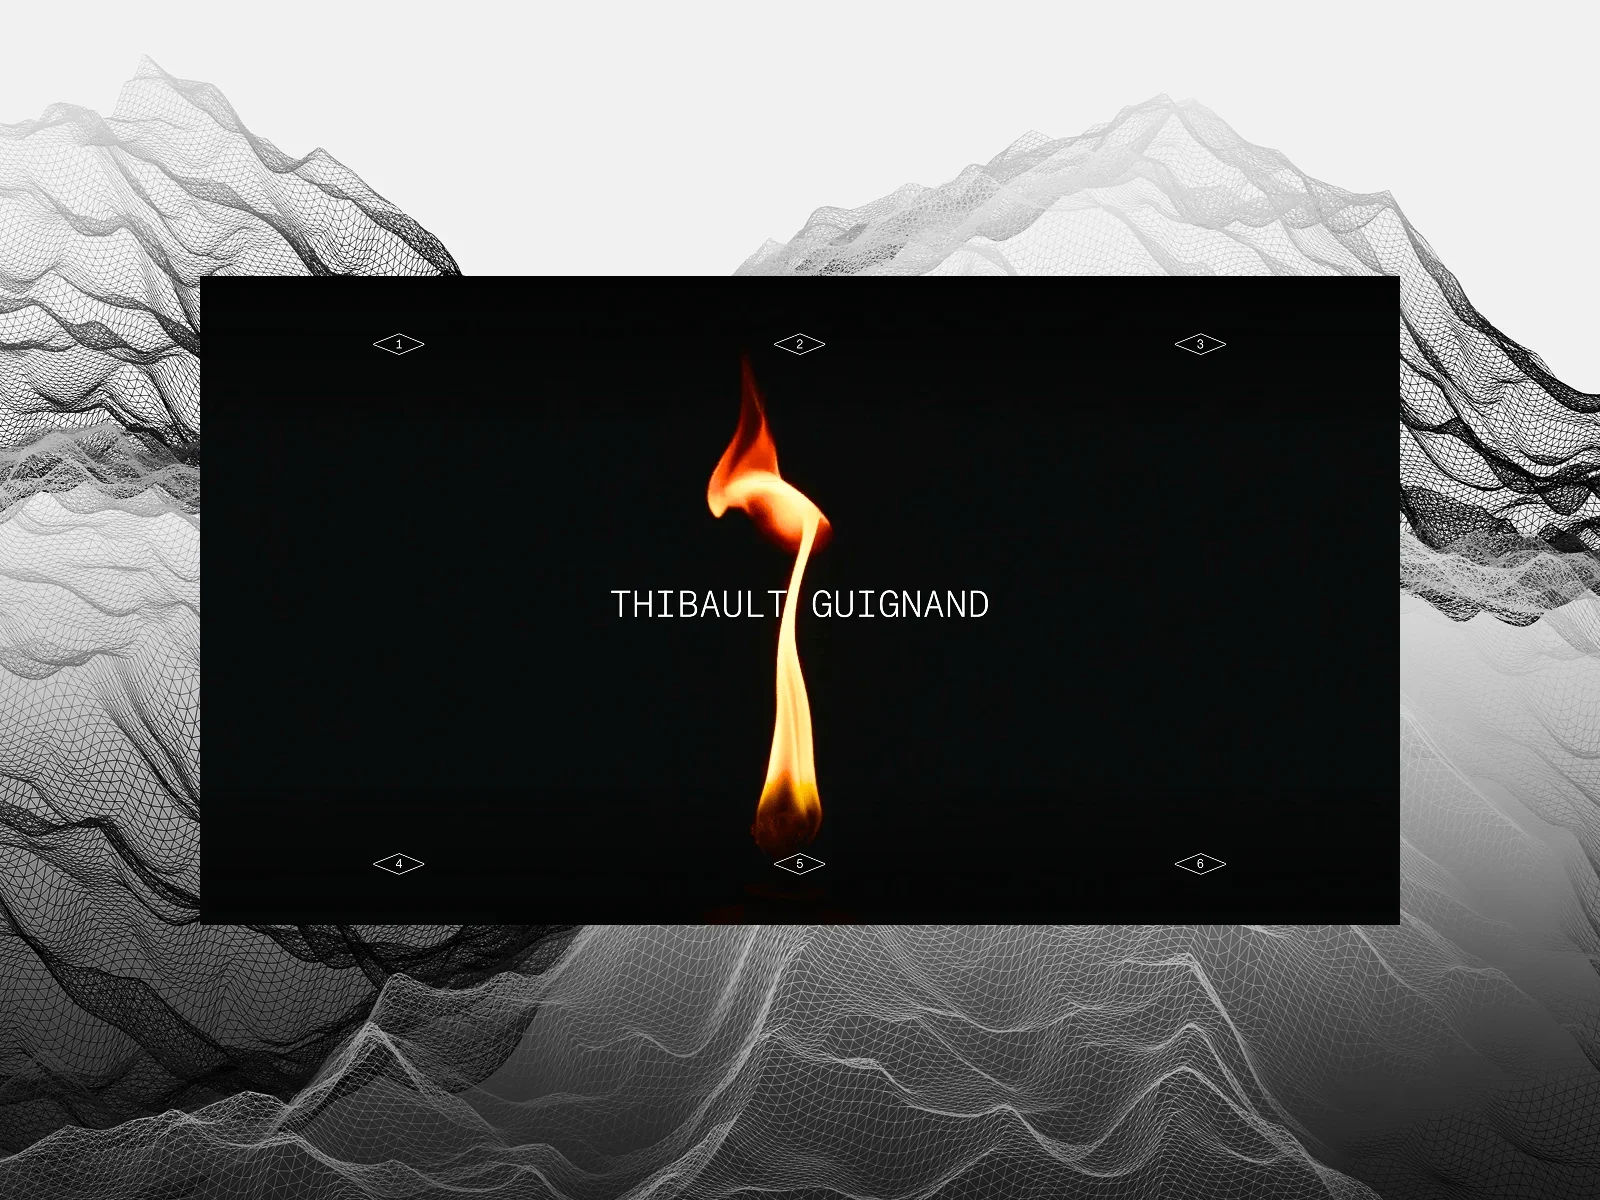
I’m Thibault Guignand, and I balance my work between freelancing and a full-time role. This dual approach enriches my experience, exposing me to a diverse array of projects—from corporate clients to bold, artistic endeavors. Ultimately, I aim to devote myself entirely to the realm of creativity.
This portfolio overhaul served as both an experimental platform and a self-assessment of my standing within the creative web ecosystem. My earlier portfolio hinted at the design choices I wanted to amplify, and I set out to refine this vision, aligning it with the considerable experience I've garnered.
Daily inspiration emerges from a mix of artists I admire—like Aristide Benoist, Cathy Dole, and Corentin Bernabou—and prominent creative sites such as Awwwards. I don't replicate their work; instead, I gauge my progress against their high standards.
The entire process spanned several weeks. While the primary structure came together quickly, the real challenge lay in ensuring that all formats—desktop, tablet, and mobile—functioned flawlessly.
I initiated the WebGL component using Three.js, but midway through, I migrated to OGL. This trade-off proved beneficial, resulting in a lighter bundle and a more streamlined API that allowed me to own the codebase completely.
Tech Stack & Tools
The choice of technologies was deliberate; opting for widely-used tools enables me to demonstrate proficiency in the foundational aspects that production studios rely on.
Vite + React 18 + TypeScript. This setup is my go-to for speed and type safety. It ensures clarity for anyone who reads my code.
GSAP. I've been a fan since the beginning, and with its recent transition to a fully free model, it's an obvious choice. Its features, including SplitText, ScrollTrigger, and the timeline API, are unparalleled for creating dynamic motion in web projects.
OGL. The switch from Three.js stems from a desire for a more lightweight and controllable WebGL environment.
Lenis. The native scroll behavior is too erratic for precise ScrollTrigger animations, so Lenis offers smooth scrolling and a consistent reference point that I can sync with GSAP's ticker.
SCSS + BEM. This is both a habit and a personal preference. When crafting shaders and custom layouts, having a systematic naming convention is crucial for maintaining order in my code.
i18n (FR/EN). With international juries assessing creative work on awards platforms, being bilingual ensures my website reaches the widest audience possible.
Design tooling. I laid out the grid structure in Figma to control proportions and rhythm, integrating it directly into the production CSS. Press Cmd/Ctrl + G anywhere on the site to see the grid alignment, ensuring that content fits precisely. The rest—typography, animations, transitions—was crafted directly in code, minimizing handoffs and enhancing the feedback loop.
Feature Breakdowns
Video Carousel Transition
The homepage features a full-screen video carousel. Hover over any project to see the current video melt into the next through a block-reveal transition, enhanced by a noise distortion effect and chromatic aberration.
How it works. A full-screen triangle in normalized device coordinates runs the fragment shader, executing three parallel operations:
- Block reveal mask: The UV coordinates are pixelated and sampled against a static noise texture, creating a binary mask that expands block by block based on the progress uniform. This eliminates any linear wipe effect, as pixels switch abruptly instead of gradually.
- Displacement: A separate noise sample, animated over time, warps the UV coordinates in two dimensions, peaking in intensity at 50% progress before returning to normal.
- Chromatic aberration: Both textures are sampled with opposing offsets for the red and blue channels, following the same easing curve.
float dt = parabola(progress, 2.);

// Block reveal: static noise pixelated, compared to progress
vec2 blockUv = floor(vUv * uNoisePixelSize) / uNoisePixelSize;
float noiseVal = texture2D(displacement, blockUv).g;
float intpl = step(noiseVal, progress);

// Warp
vec2 displaceDir = (noise.rg - 0.5) * 2.0;
vec2 warpedUv = uv + displaceDir * dt * uDisplaceIntensity;

// Chromatic aberration
float shift = dt * uRGBShift;
t1.r = texture2D(texture1, warpedUv + vec2(shift, 0.0)).r;
t1.g = texture2D(texture1, warpedUv).g;
t1.b = texture2D(texture1, warpedUv - vec2(shift, 0.0)).b;

// same for t2…
gl_FragColor = mix(t1, t2, intpl);
GSAP × WebGL: bridging with a single uniform. The pinpoint for these animations is a single progress value, ranging from 0 to 1, managed by a GSAP timeline. Each animation frame, this value updates in the shader, demonstrating how GSAP effectively controls motion without needing to modify the GLSL codebase. This method is universally applied across all effects in my project.
Minimal per-frame upload. Video textures require re-uploading every frame since the browser delivers new pixels. I limit updates only to the two textures currently transitioning (source + destination), streamlining the process. Outside transitions, the carousel defaults to native <video> playback without additional GPU overhead.
Flowmap Text Distortion
How it works. The Flowmap utility from OGL tracks the mouse speed and stocks it in an off-screen RG texture for each frame. The shader samples this texture to distort the text's UV coordinates and applies a directional form of chromatic aberration, which shifts the RGB channels based on the vector from the cursor to the pixel.
// Directional chromatic aberration: not centered, guided by cursor
vec2 toMouse = vUv - uMouse;

float influence =
    smoothstep(uRadius, 0.0, length(toMouse)) * uVelo;

vec2 offset =
    normalize(toMouse) * influence * uChromaticIntensity;

// RGB split sampling
float r = texture2D(tWater, baseUV - offset * 1.5).r;
float g = texture2D(tWater, baseUV + offset * 0.5).g;
float b = texture2D(tWater, baseUV + offset * 1.8).b;

// Rainbow kick when velocity is high: sin() with 120° phase offsets
if (uVelo > 0.01) {
    float hueShift =
        uTime * 0.01 + length(toMouse) * 2.0;

    r = mix(
        r,
        sin(hueShift) * 0.5 + 0.5,
        uVelo * uColorShift
    );

    g = mix(
        g,
        sin(hueShift + 2.094) * 0.5 + 0.5,
        uVelo * uColorShift
    );

    b = mix(
        b,
        sin(hueShift + 4.188) * 0.5 + 0.5,
        uVelo * uColorShift
    );
}
The rainbow effect relies on a classic method using three sin() functions, offset by 2π/3 radians. It activates only when the cursor is moving quickly, maintaining visibility during rapid movement while remaining subdued during steady pauses.
One-time mount, texture swapping. This optimization is one of my proudest achievements. My initial version created a new WebGL context for each project title, which was clear in React but disastrous for performance. GPU memory usage spiked, and the rainbow effect became choppy by the fourth hover. The revised approach retains a single FlowmapEffect mounted at the HomePage level, allowing texture swapping without creating new contexts. Coupled with an idle guard that halts the rendering loop after 90 frames of inactivity, this method significantly cuts resource costs during idle moments.
Next-Project Scroll Morph
Scrolling to the bottom of each project page unveils the "Next Project" preview, which expands and reveals a clipped background, while an SVG circle tracks a progression from 0% to 100%. When the circle hits 100%, the page navigates automatically; scrolling back up cancels the navigation.
How it works. A single ScrollTrigger with scrub: 1 orchestrates the entire animation, updating four DOM values each frame through its onUpdate callback—bypassing React's state management to maximize performance.
onUpdate: (self) => {
  const progress = self.progress;
  const percent = Math.round(progress * 100);

  // Counter
  numberEl.textContent = String(percent >= 99 ? 100 : percent);

  // Background morph: scale + inset clip-path
  const bgScale = 1.3 - 0.3 * progress;

  const insetV = Math.max(0, 20 - 20 * progress);
  const insetH = Math.max(0, 40 - 40 * progress);

  bgEl.style.transform = `scale(${bgScale})`;
  bgEl.style.clipPath = `inset(${insetV}% ${insetH}% ${insetV}% ${insetH}%)`;

  // SVG progress circle
  circleEl.style.strokeDashoffset =
    String(CIRCUMFERENCE - progress * CIRCUMFERENCE);

  // Auto-navigation check
  if (percent >= 100 && state === "idle" && hasSeenLowProgress) {
    // trigger page change
  }
};
This direct manipulation of element.style.* avoids the overhead of a full React render for each frame. On a 120 Hz display, this distinction translates to fluid motion versus stuttering.
A state machine to handle scroll unpredictability. The automatic navigation isn't simply based on reaching 100%—users might flick scroll through this section, land on a fragment at 100%, and then change their minds. I implemented a three-state machine (idle → triggered → navigating), complete with guard clauses like hasSeenLowProgress to prevent accidental triggers.
Identical animations, dual triggers. Interestingly, the section doubles as a clickable area. Clicking activates a GSAP tween that transitions from the existing scroll progress to 1 while scrolling the page simultaneously to match the animated states. This maintains consistency in DOM manipulation, yielding the same visual effect from two different triggers.
Page Transitions (GSAP + View Transitions)
Exiting the homepage isn’t jarring; elements such as the WebGL backdrop, grid overlay, side texts, and custom cursor fade out together. After a brief pause, the content layer fades out before the browser's View Transition API takes over for the final effect.
Preload speeds up the fadeout. Upon clicking a link, two processes initiate simultaneously: the visual fadeout alongside data fetching. The dynamic import() of the next route’s JavaScript chunk, coupled with preloading the hero image, commence before GSAP executes any frames. By the time the timeline completes (approximately 0.6 seconds), both tasks typically finalize.
// Begin preloads immediately: they race GSAP fadeout
const chunkReady = chunkPreloaders[routeChunk]().catch(() => {});
const imageReady = project?.heroImage
  ? preloadImage(project.heroImage)
  : Promise.resolve();

// Sequential fadeout, parallel with network operations
const tl = gsap.timeline();

tl.to(
  [webglBg, gridOverlay, sideTexts, customCursor],
  { opacity: 0, duration: 0.3, ease: "power2.inOut" },
  0
).to(
  contentEl,
  { opacity: 0, duration: 0.35, ease: "power2.inOut" },
  0.25
);

await tl.then();
await Promise.all([chunkReady, imageReady]);

await startPageTransition(() => {
  flushSync(() => {
    navigate(path);
  });
});
flushSync is the key to the View Transition functionality. The method document.startViewTransition allows for capturing the DOM state before making changes. React Router’s navigate() function runs asynchronously, which can interfere with the View Transition process if not handled properly. Wrapping it in flushSync ensures that React renders the new route synchronously within the transition callback, resolving a common bug that can disrupt the experience.
Text Reveal: A Unified Technique
Throughout the site, a consistent text reveal strategy is employed: using GSAP’s SplitText for character or line organization, coupled with a scramble effect to bring characters into view, layered with a clip-path wipe. Centralizing this logic into a single utility allows any adjustments to the animation curve to ripple through the entire site.
Concurrent effects instead of sequential. When a line scrambles from random characters to its final form, the left edge resolves first. Implementing a clip-path reveal from left to right at the same speed maintains visual coherence, so users only see the part of the text that is already readable.
gsap.to(lineEl, {
  duration,
  ease: "none",
  scrambleText: {
    text: lineText,
    chars: SCRAMBLE_CHARS,
    revealDelay,
    speed,
  },
  onStart: () => {
    // The wipe runs concurrently with scrambling
    gsap.to(lineEl, {
      clipPath: "inset(0 0% 0 0)",
      duration: 0.6,
      ease: "power2.out",
    });
  },
});
This strategy ensures a smooth transition without layout disruption during the reveal.